Here are a few common questions about using and hosting 360° virtual tours.
Nur auf Englisch verfügbar.
No. The background imagery of these tours is 360° photographs, also known as panoramas. Some of the virtual tours "autorotate" by default and look like a video, but they are not.
The 360° tours are composed of hundreds (sometimes thousands) of small image files, other media files (embedded icons, audio, video), code files with functions, and one HTML file to put it all together and serve the tour to your web browser.
Not at all. These tours should work on any reasonably modern browser (Chrome, Safari, etc.) and platform/device. However, see notes below.
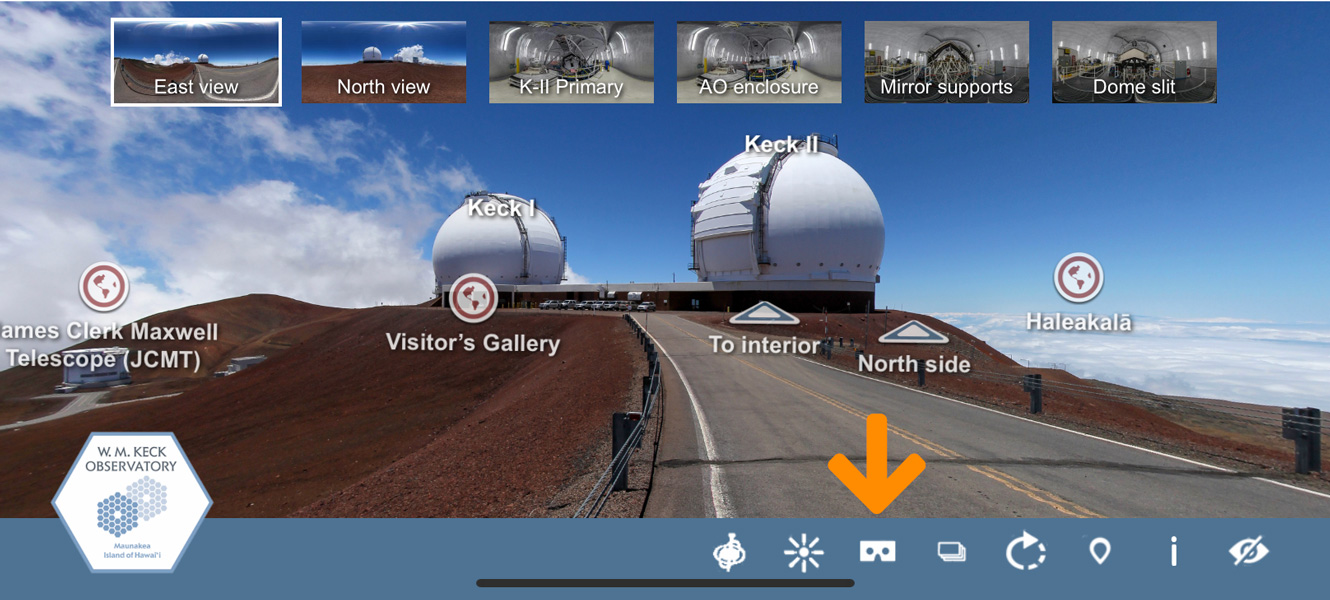
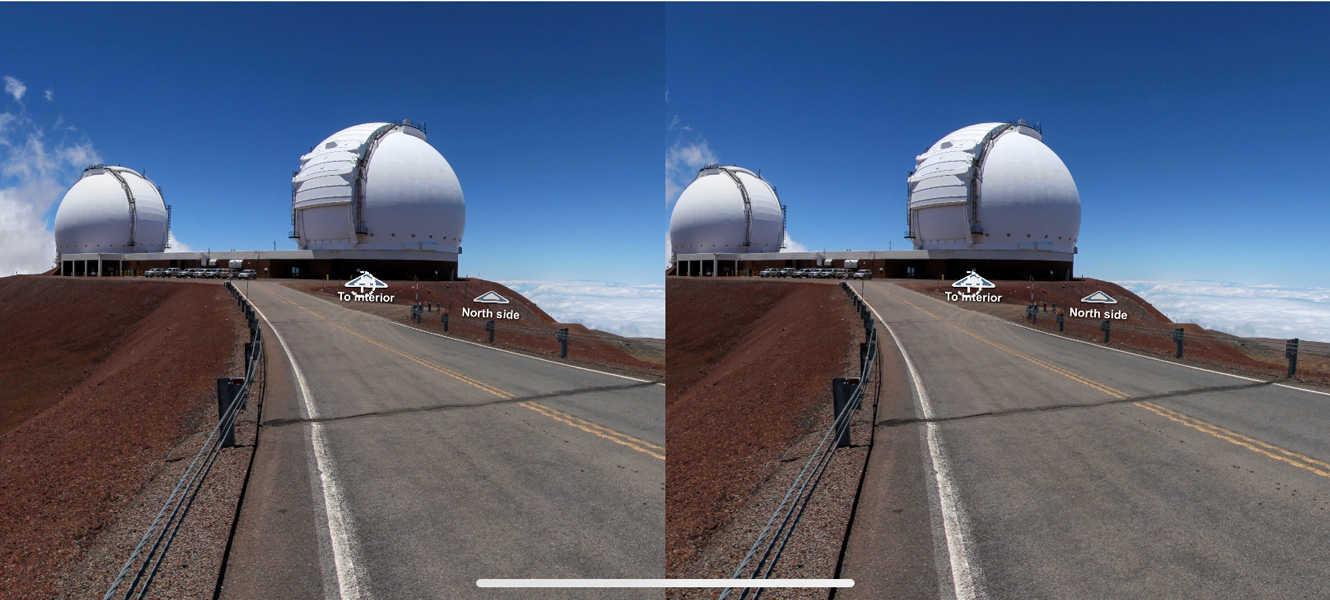
To look around, drag the cursor across the image. Alternatively, use the arrows on your keyboard to move in small steps. Icons superimposed on the panoramic images allow for navigation to other locations within the dome as well as bring up more information, images, and videos.

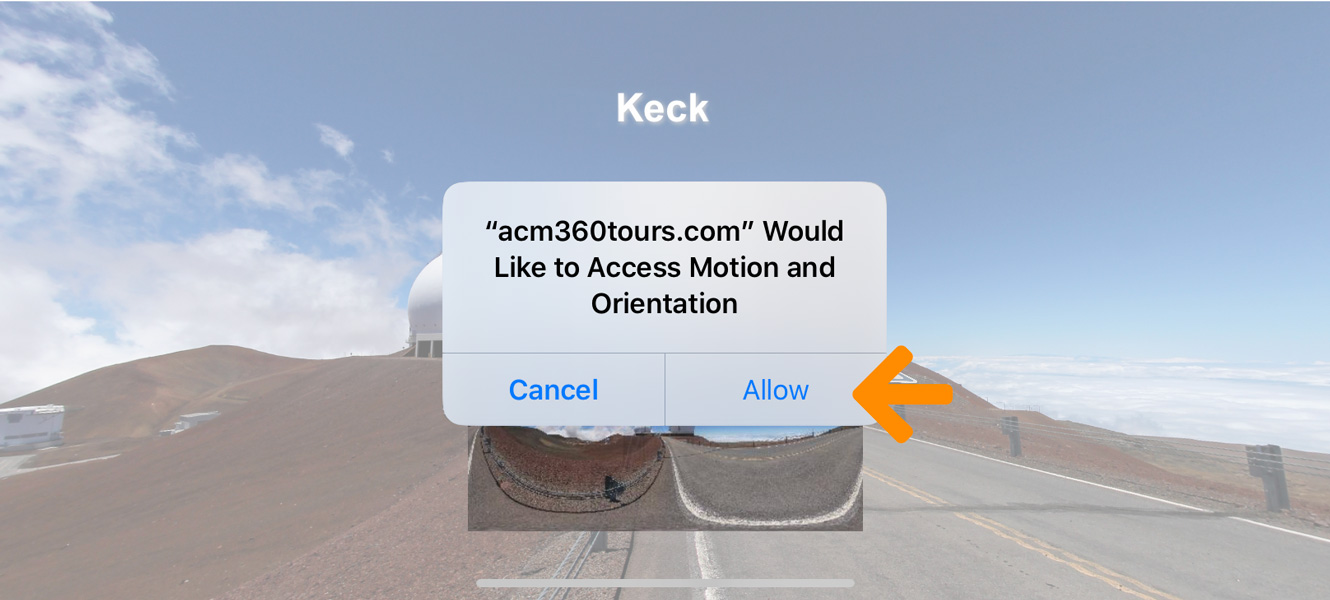
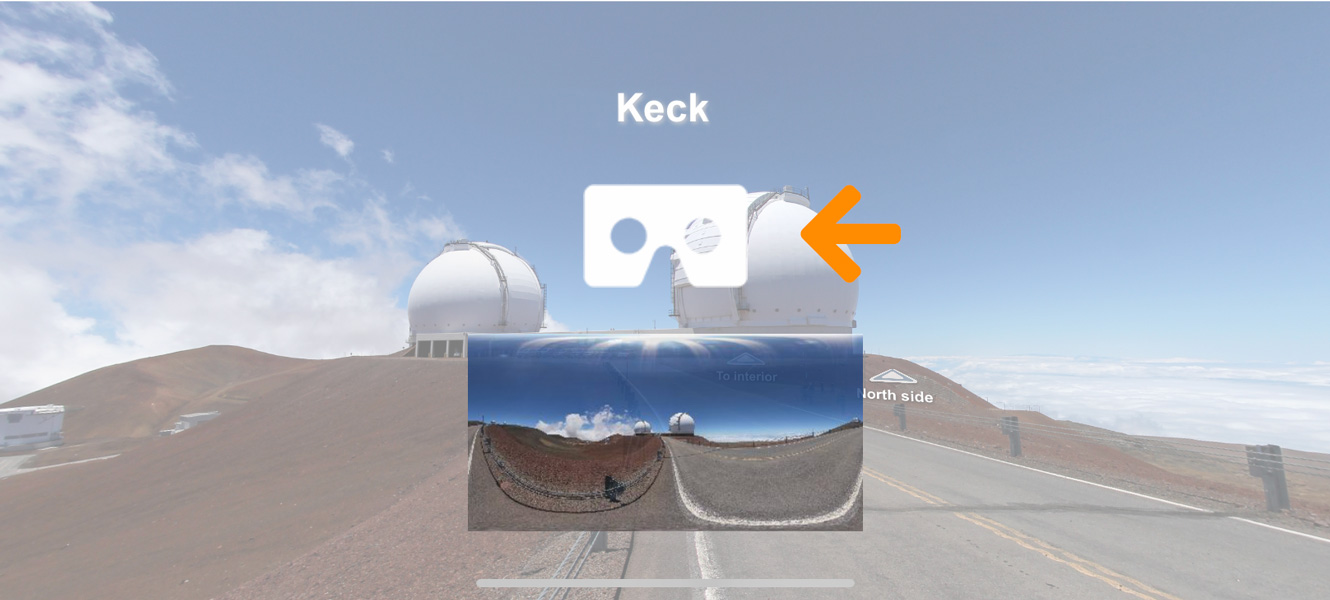
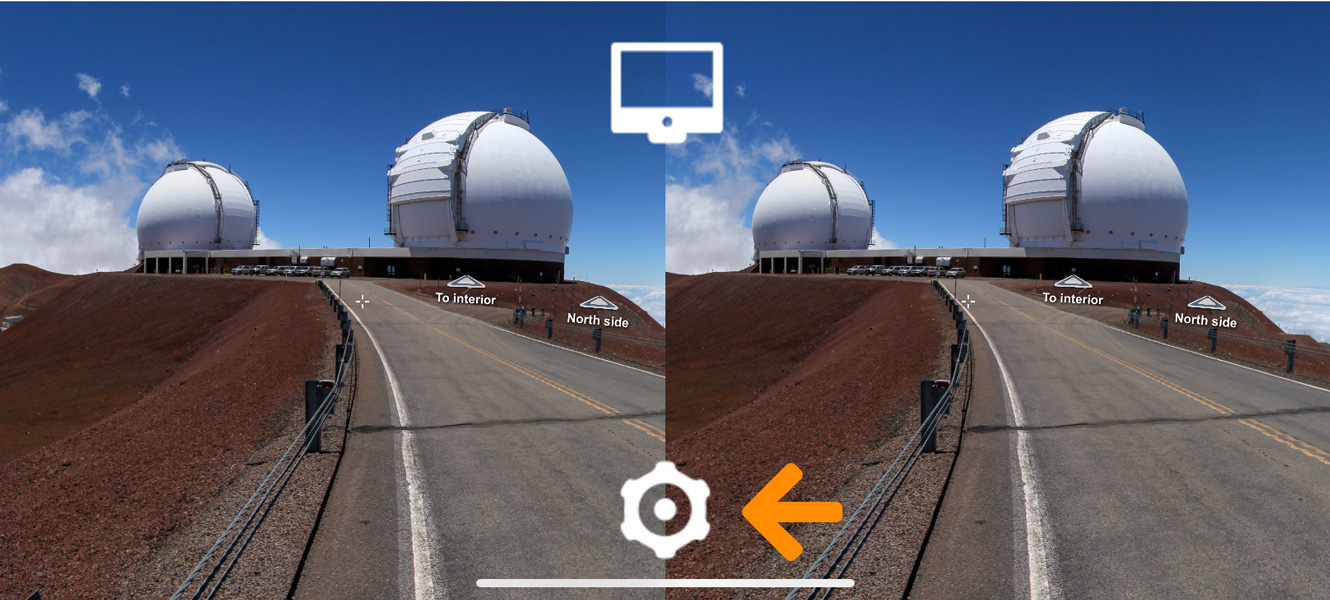
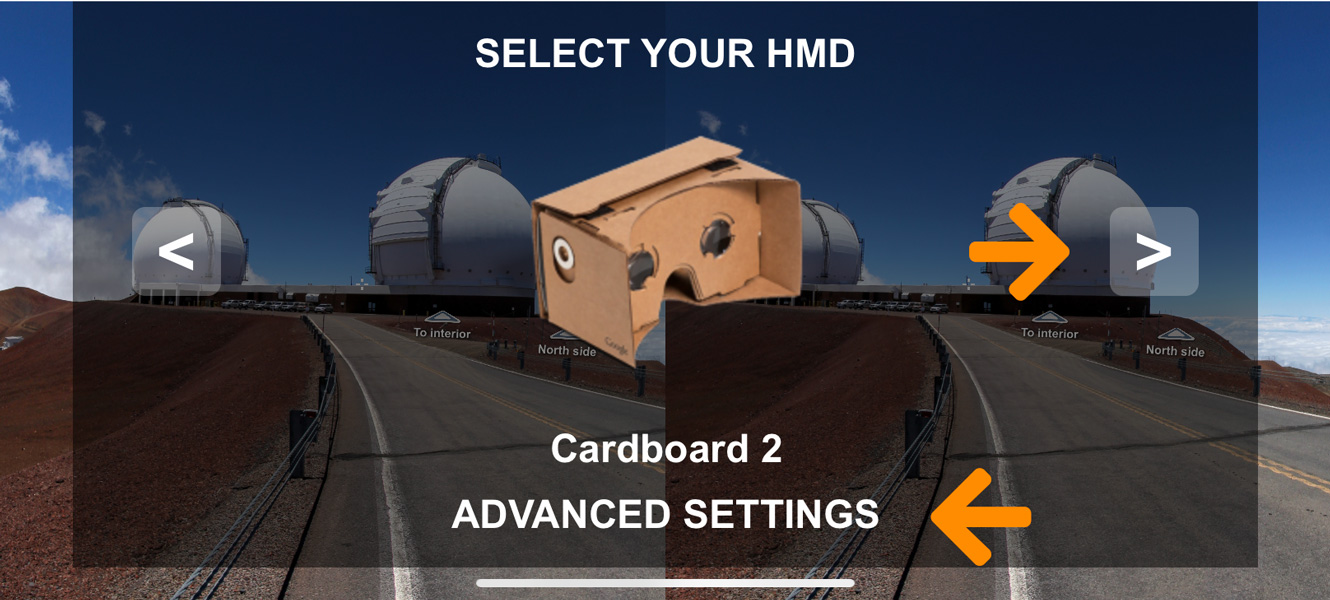
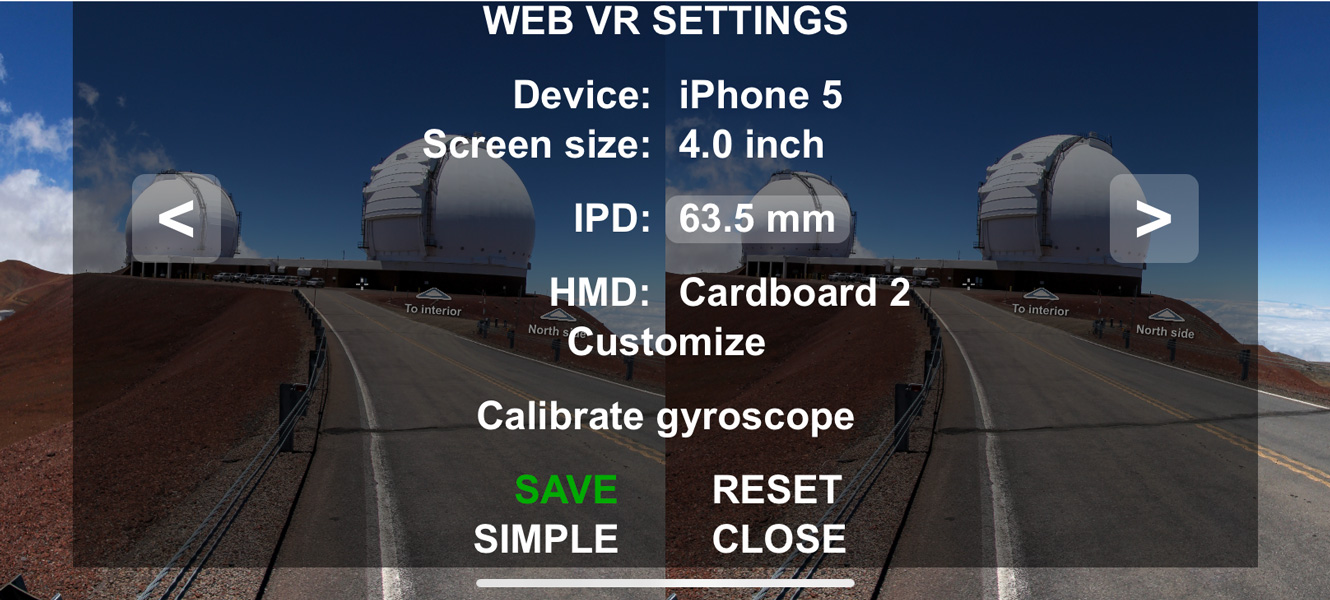
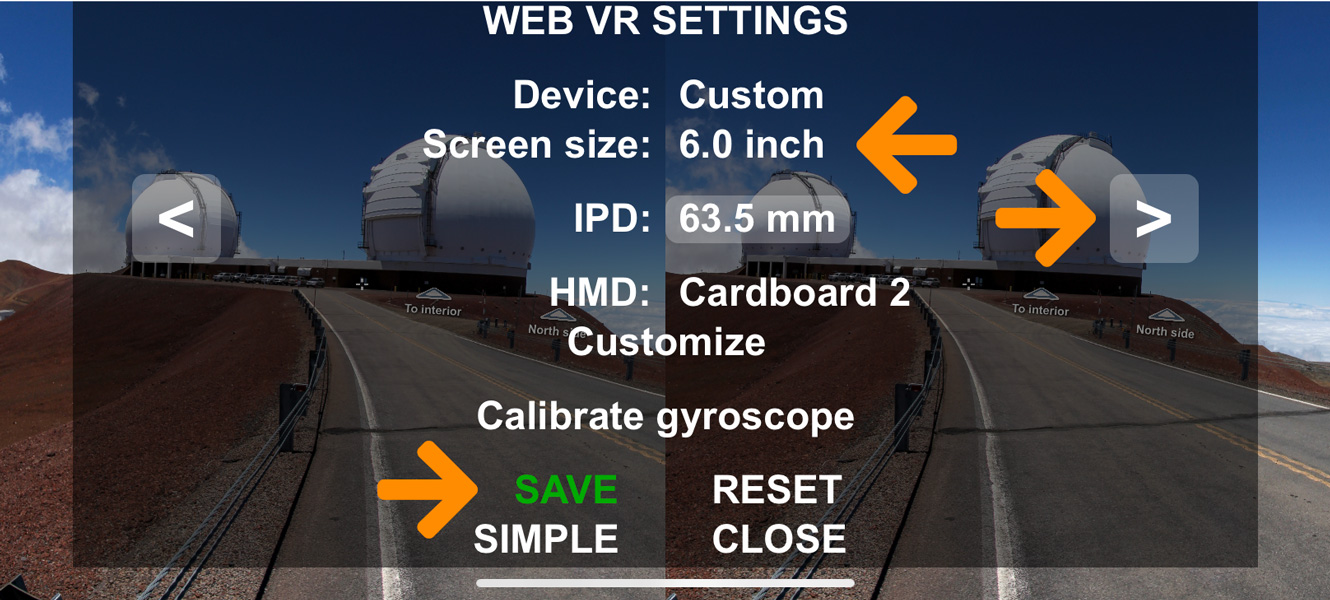
If the tour has a VR version, the icon will appear in the control bar when the tour is loaded on a mobile device (normally this feature is not available on desktops). If prompted, allow the tour to access your device's Motion and Orientation. Tap/click it and the same icon will appear larger in the middle of the screen. Tap/click it again and the tour will be shown in VR mode. Many smartphone models and some popular VR headsets are automatically recognized by the tour. If not, the screen size (diagonal) may have to be set manually in the advanced VR settings—tap anywhere on the VR screen to get the icon, navigate with the arrows to find your headset or tap/click advanced settings to set the screen size manually. The interpupillary distance (IPD) is 63.5mm by default, but this can also be adjusted (use the arrows to increase or decrease) if the image looks double.
To navigate within the tour in VR mode, move your head until the center crosshairs land on a jump spot. A dashed circle will appear around the jump point. When it completes, the next panorama wil be loaded.
To exit VR mode, tap/click anywhere on the screen to get the icon. Tap/click it to return to the full version of the tour.
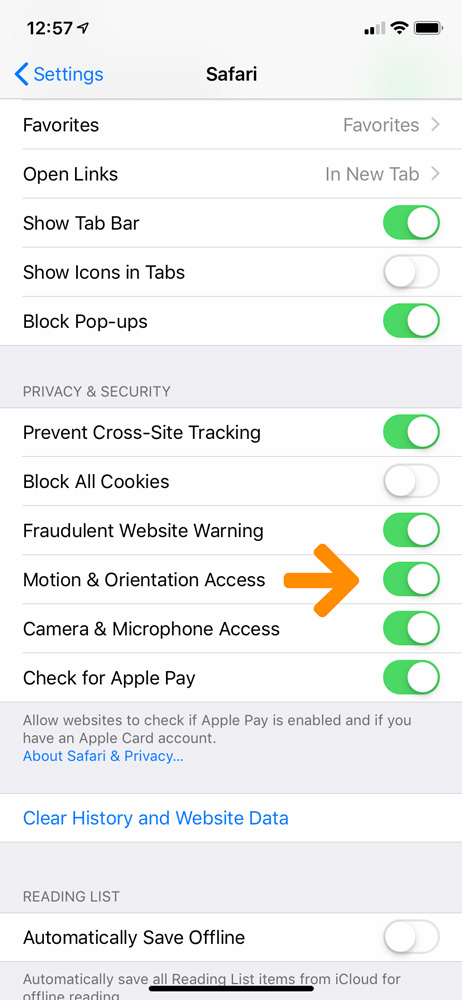
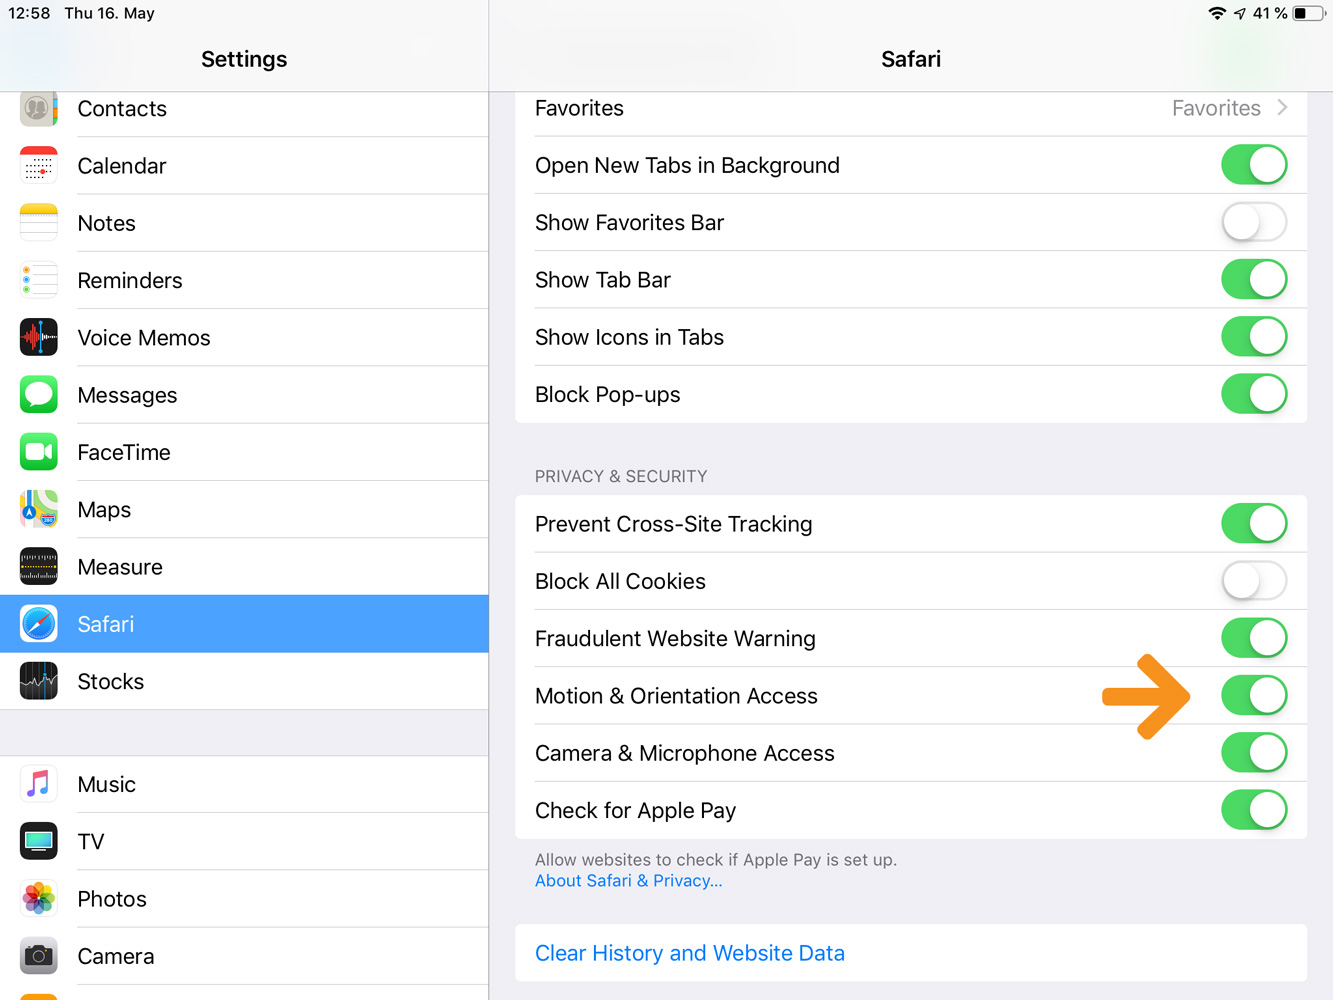
Apple introduced a new setting on iOS 12.2 that must be enabled for the orientation features to work (please note, this feature was removed on iOS 13, see below). On your iPhone or iPad open Settings, then navigate to Safari and enable Motion and Orientation Access as shown in the images below. More information on this setting can be found online.
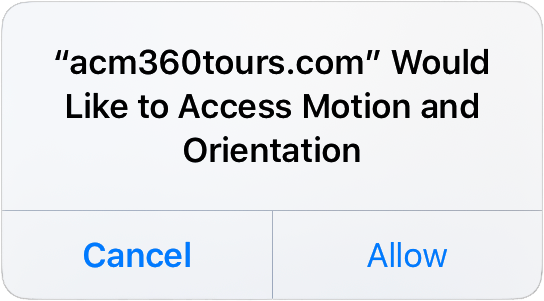
Devices running iOS 13 and above no longer has this option as a setting. Instead, allow the tour to access the device's motion and orientation when prompted after pressing either the gyroscope or VR buttons on the control bar. This popup window will only appear once.
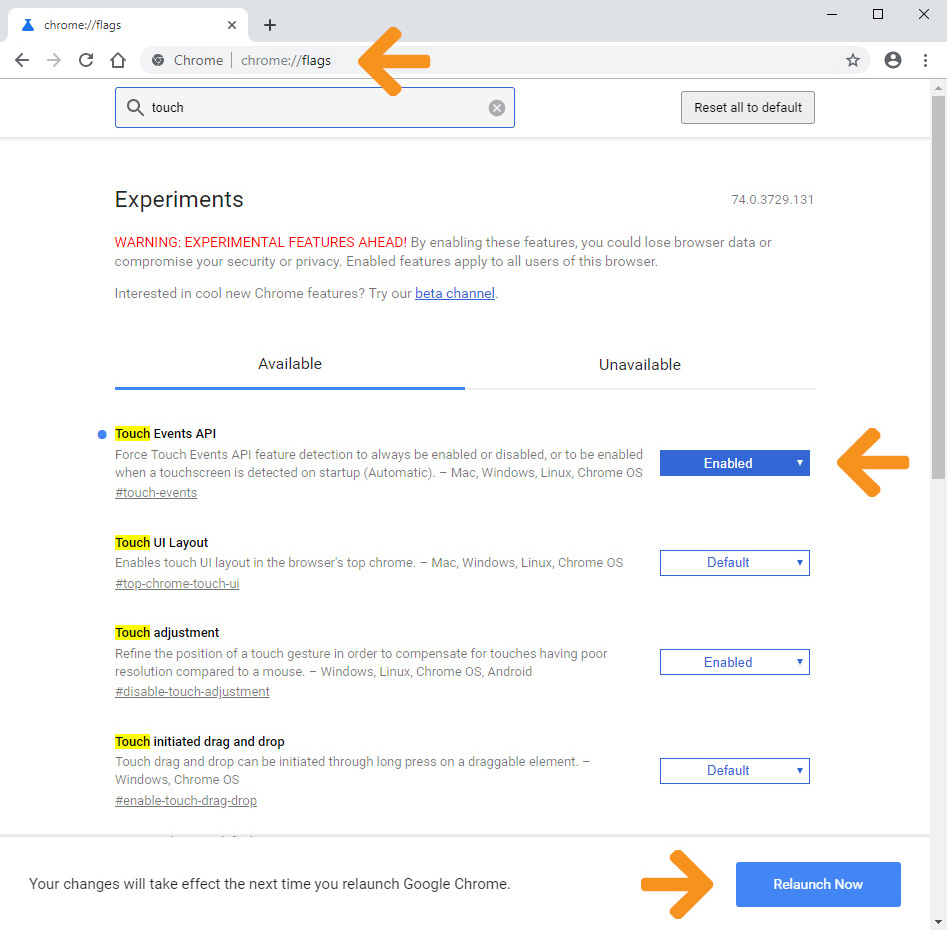
For Windows tablets (e.g. Surface) or computers paired with a touchscreen, please be sure to enable Touch Events API in Chrome. Since Google released Chrome 70, this setting is no longer enabled by default. On Chrome 70–77 (Chrome 78 has removed this flag), Touch Events API can be found by typing "chrome://flags" in the URL bar and "touch" in the search bar as shown in the image below. You will need to relaunch Chrome after enabling Touch Events API. More information can be found online.
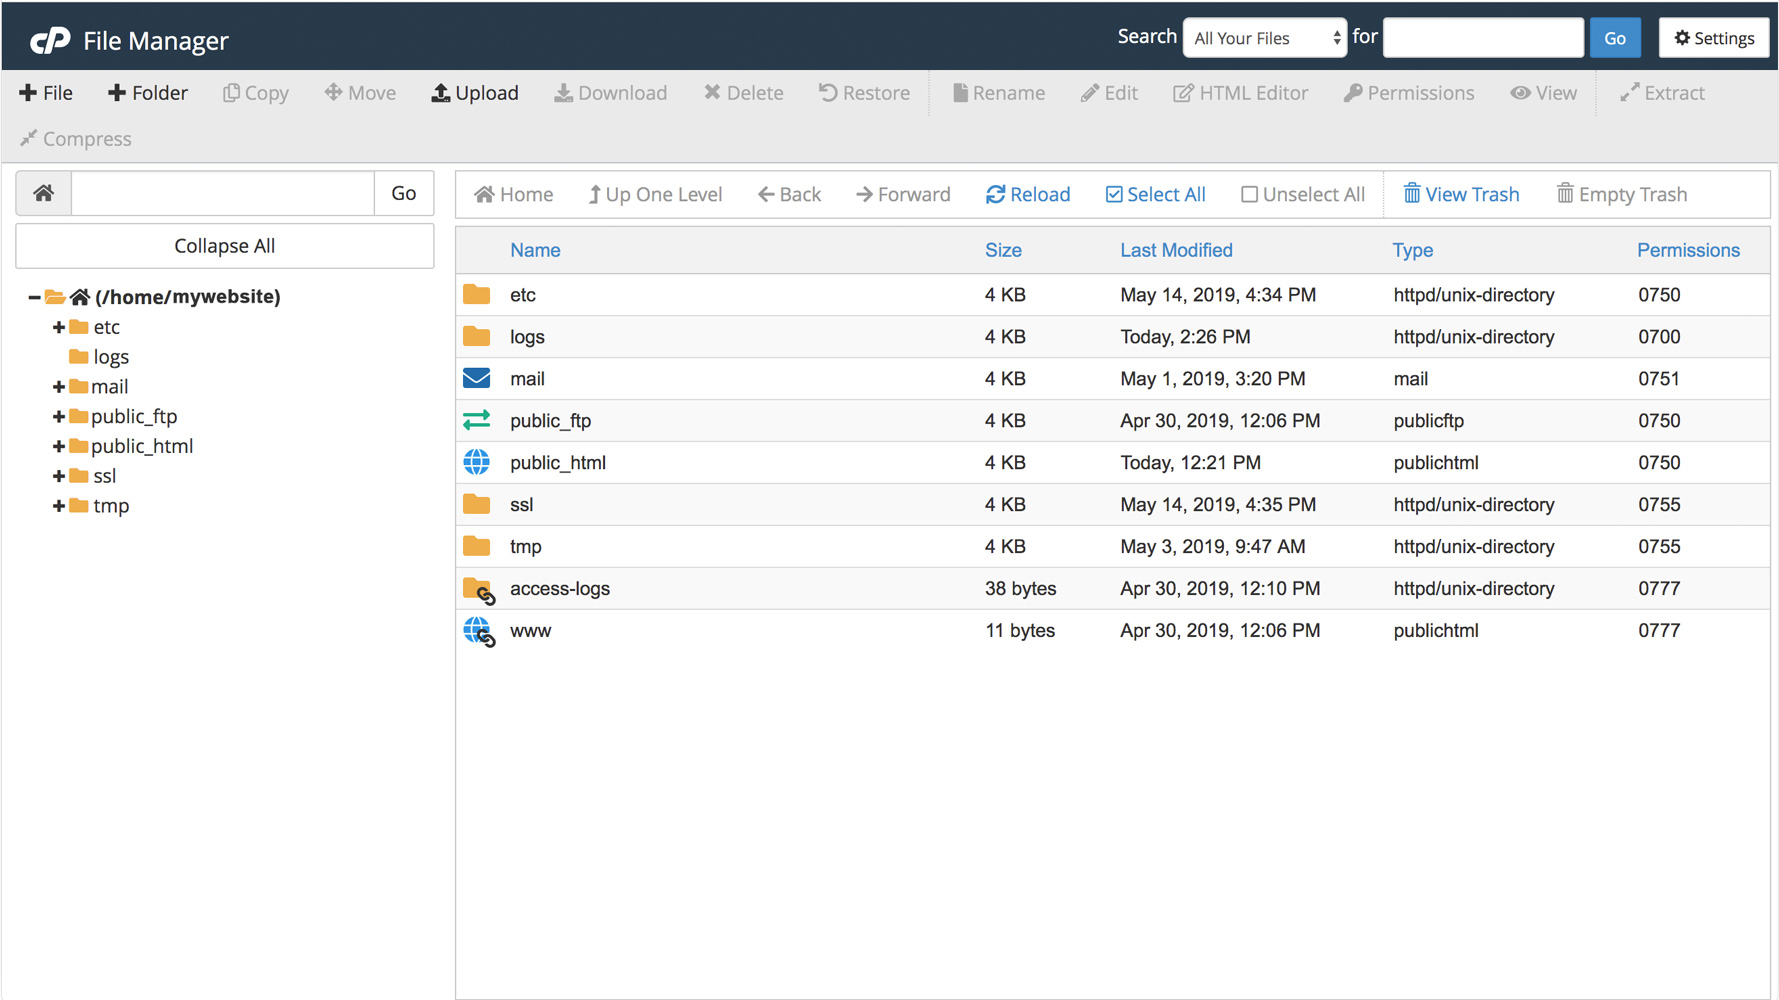
To run the tour from your website you will need a hosting service that allows you to see your website's directory structure and direct upload of files via FTP. Hosting services like Godaddy and iPage give you these options. Integrated services like Squarepace where you cannot upload entire directories and see your website's directory structure will not work.
Depending on the resolution of the panoramic files and features included in the tour (embedded media in particular), you will need between 250Mb to 2Gb of space to host a virtual tour.
In addition, you will need a security certificate (SSL, which is what gives you the s in https://) so that your tours run flawlessly with iOS 12.2 and later.
Once you have your tour files uploaded on your web space, you can simply insert the main HTML file on your existing website as an iframe. It's that easy!